
Preparing My Ornament Watercolor for a Holiday Notecard
After finishing the watercolor and colored pencil painting of the three red ornaments, the next step is getting the artwork ready for printing as a holiday notecard. Here’s a look at how I photograph the piece, remove the background, and prepare the final image in Photoshop. If you know easier ways to do this I’d love to hear about it!
Photographing the Artwork
I start by photographing the painting with my Canon Rebel T7 in .cr2 format. Shooting in raw format gives me more flexibility when editing and helps me keep the colors true to the original painting.
When I open the file in Photoshop, it automatically loads into the Camera Raw window. This is where I make the first adjustments to the image.
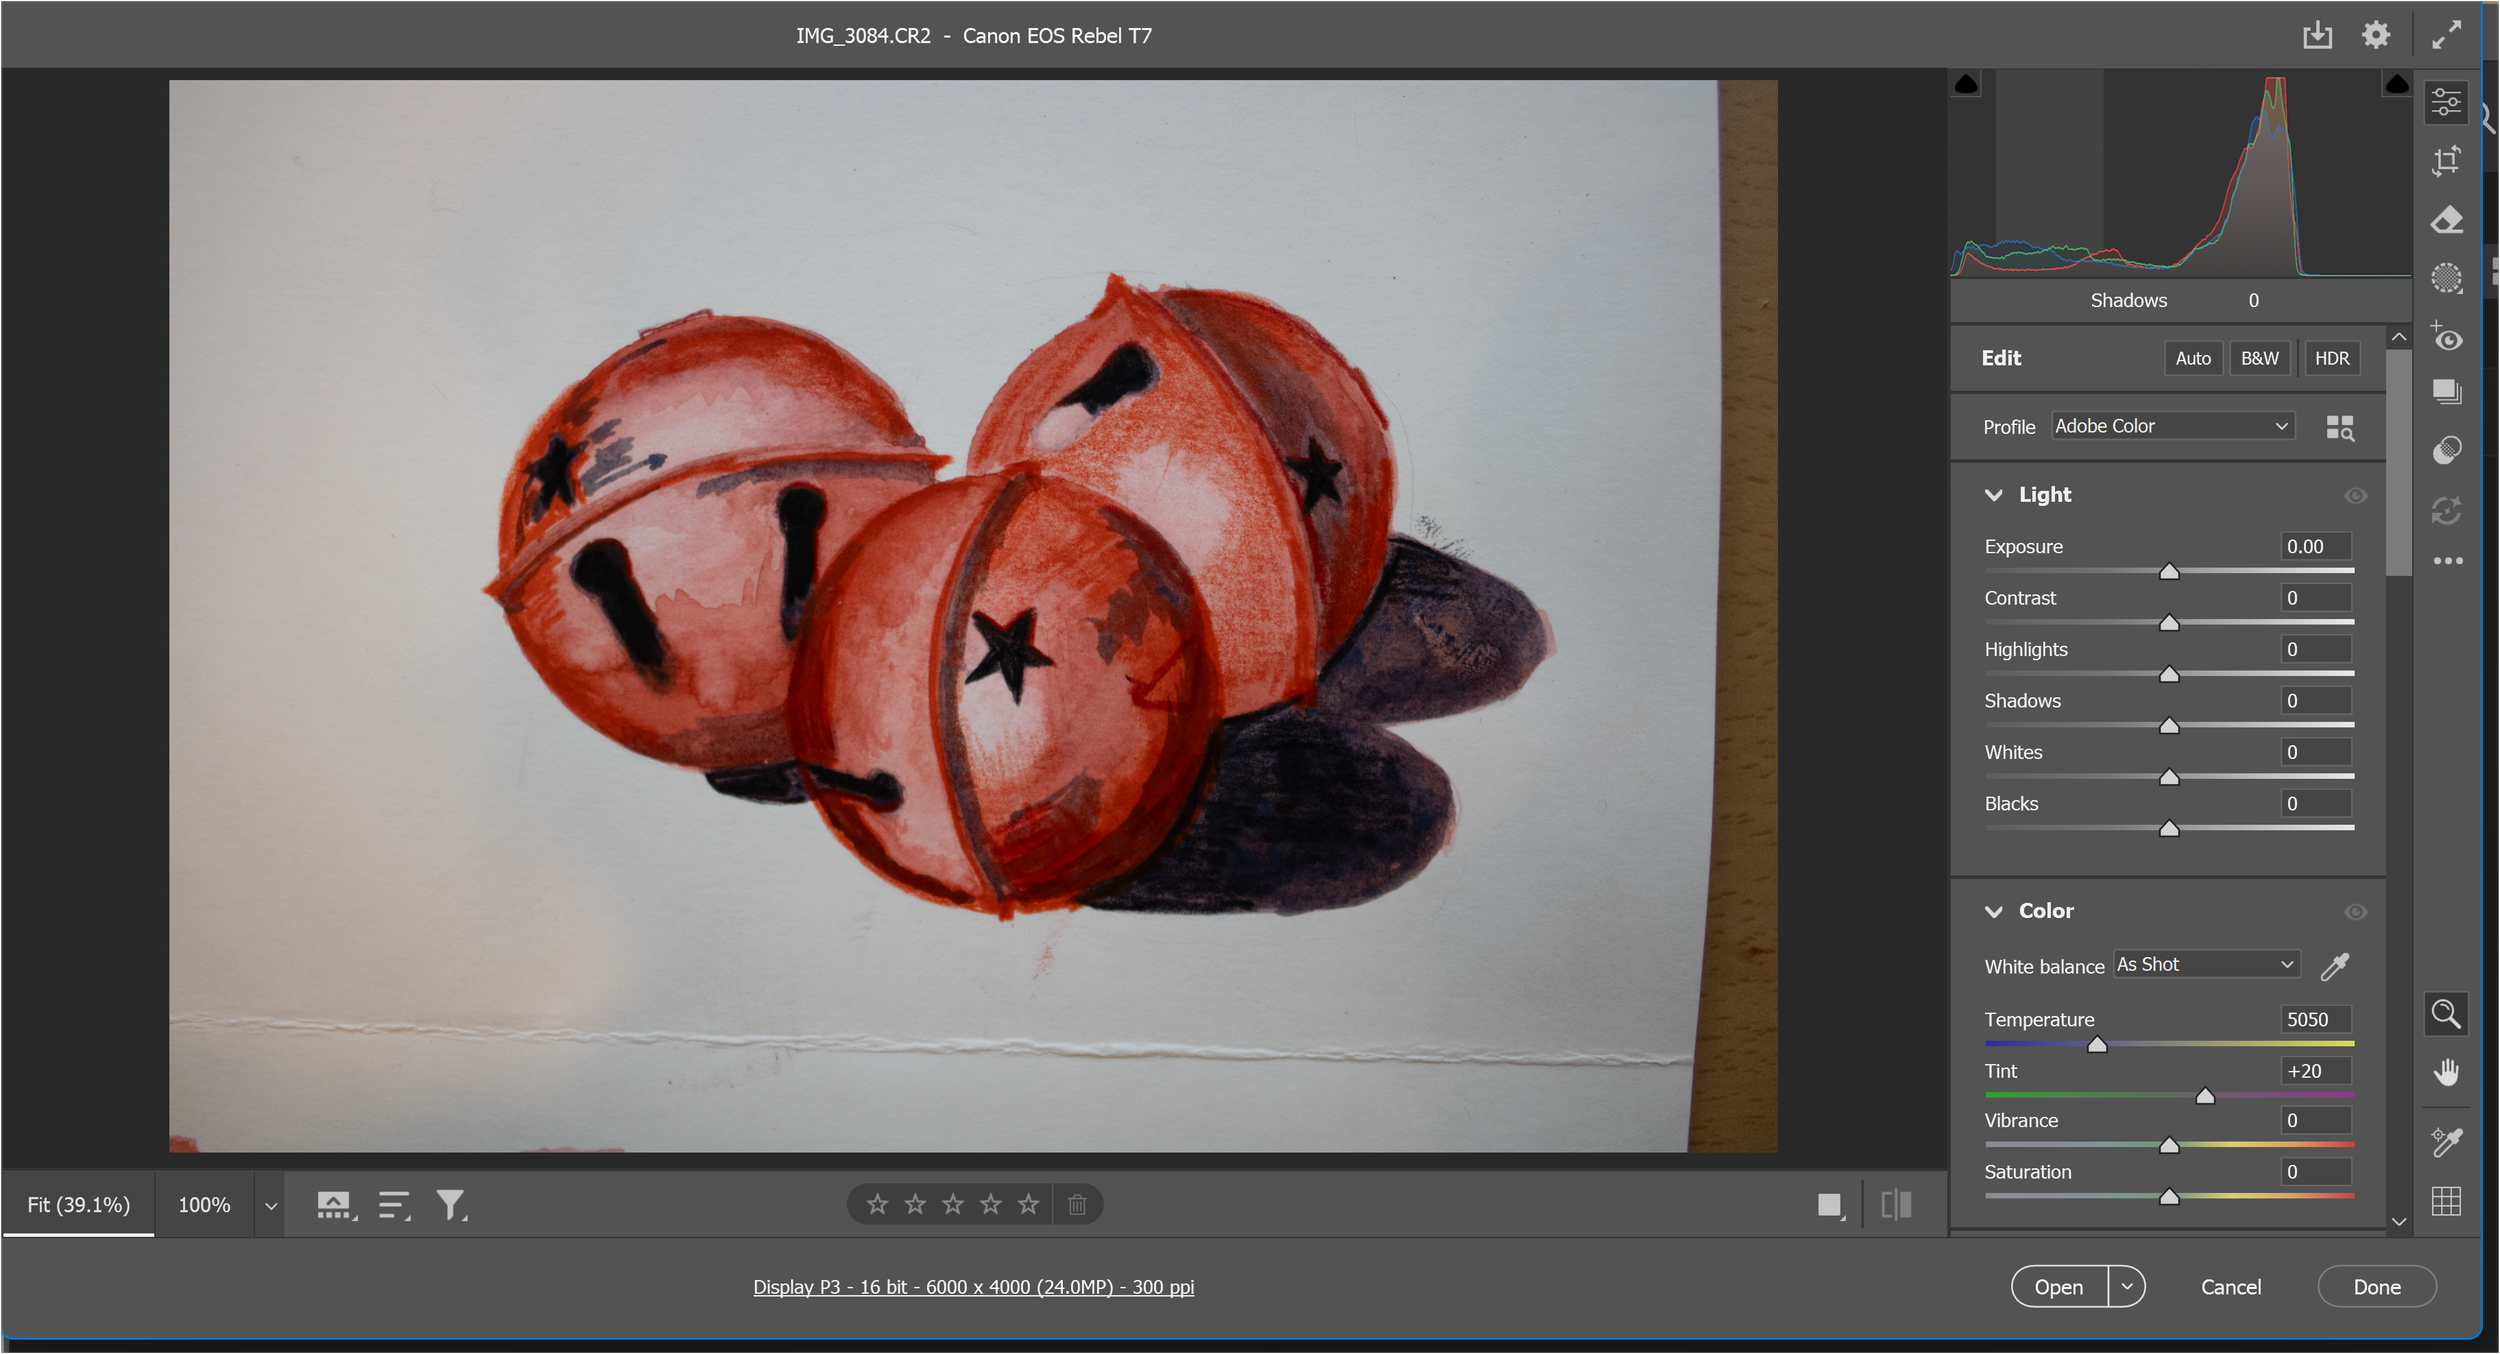
Adjusting Light and Color
In Camera Raw, I focus mainly on the Light panel.
My goal here is to get the background paper as close to pure white as possible without washing out the details in the watercolor.
I usually adjust:
Exposure
Whites
Small changes go a long way. Once the painting looks accurate to the original, I open the file using “Open as Copy” so I can work on it nondestructively.
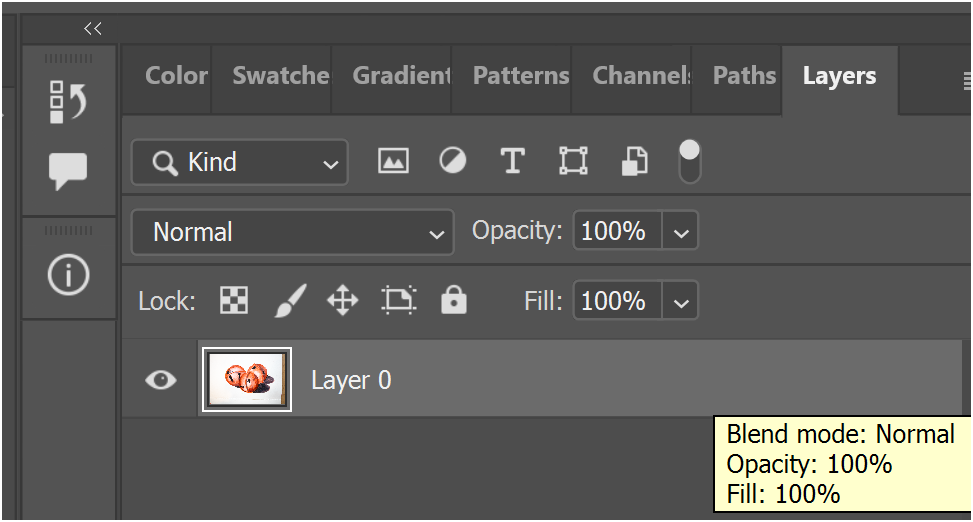
Removing the Background
Next, I click on the Background layer to unlock it and turn it into a regular layer. This allows me to edit the image more freely.
Photoshop has a convenient Quick Action tool for removing backgrounds. It’s not perfect for every type of artwork, but for this piece it works beautifully and saves me a lot of time.
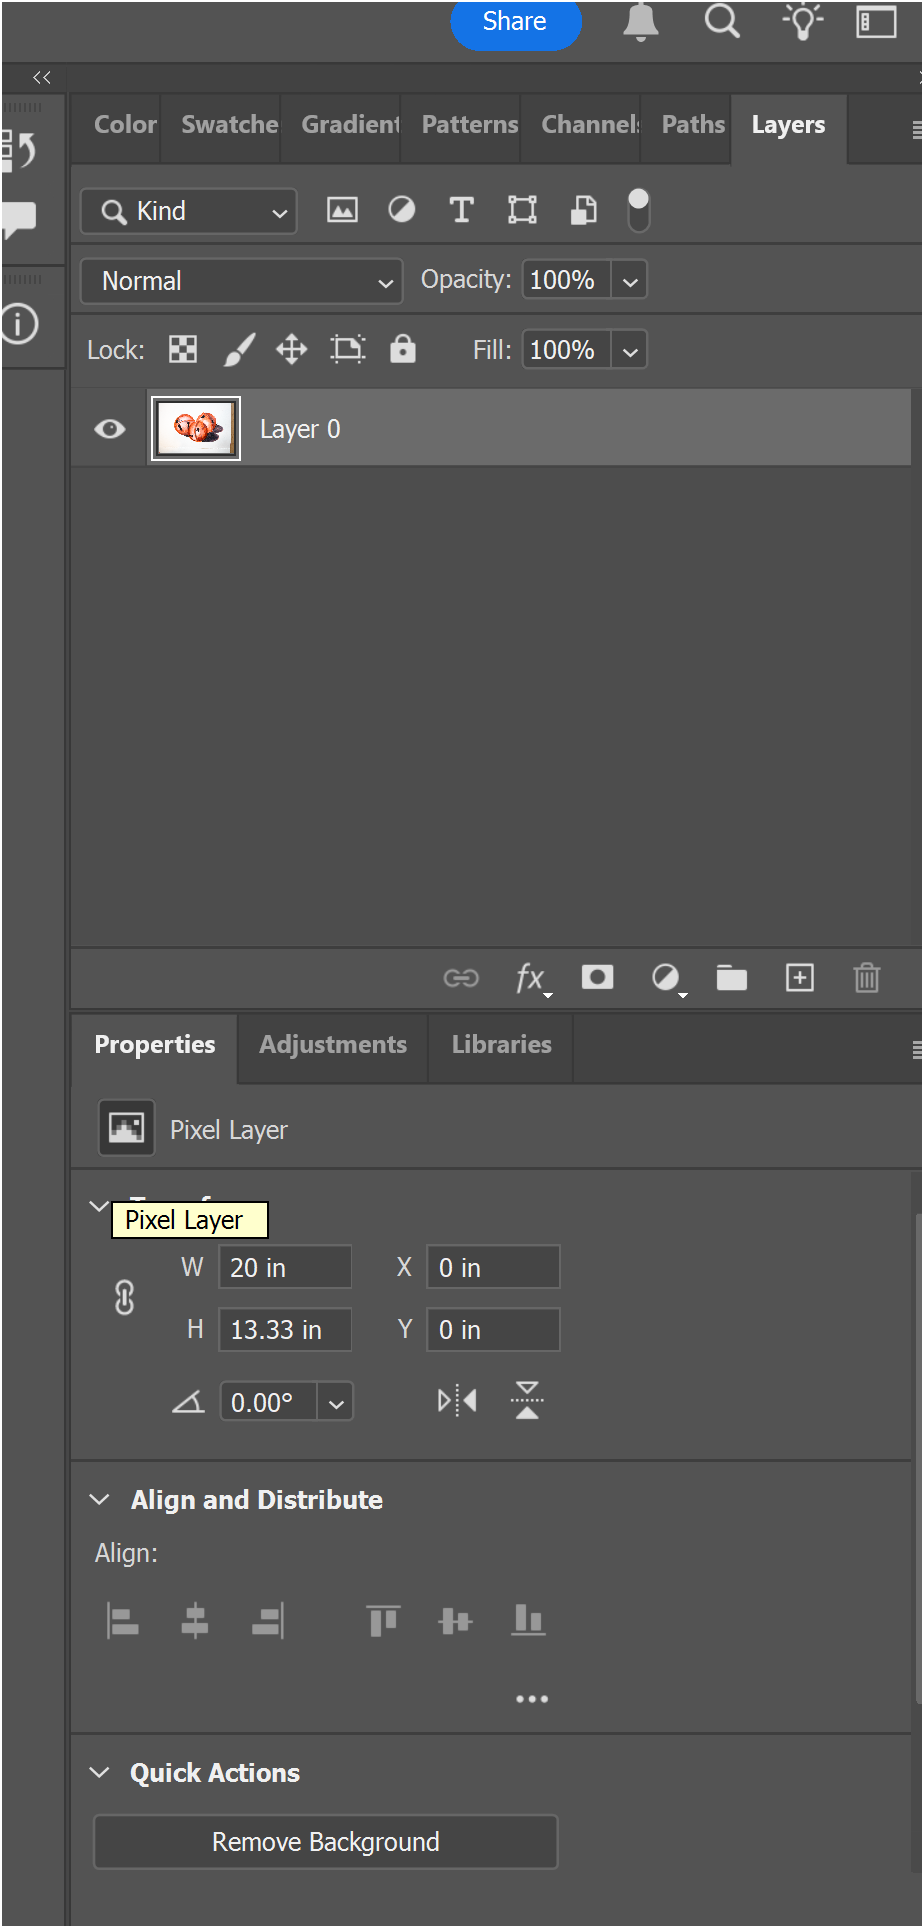
After removing the background, I’m left with the ornaments floating cleanly on their own layer—exactly what I need for a notecard layout.
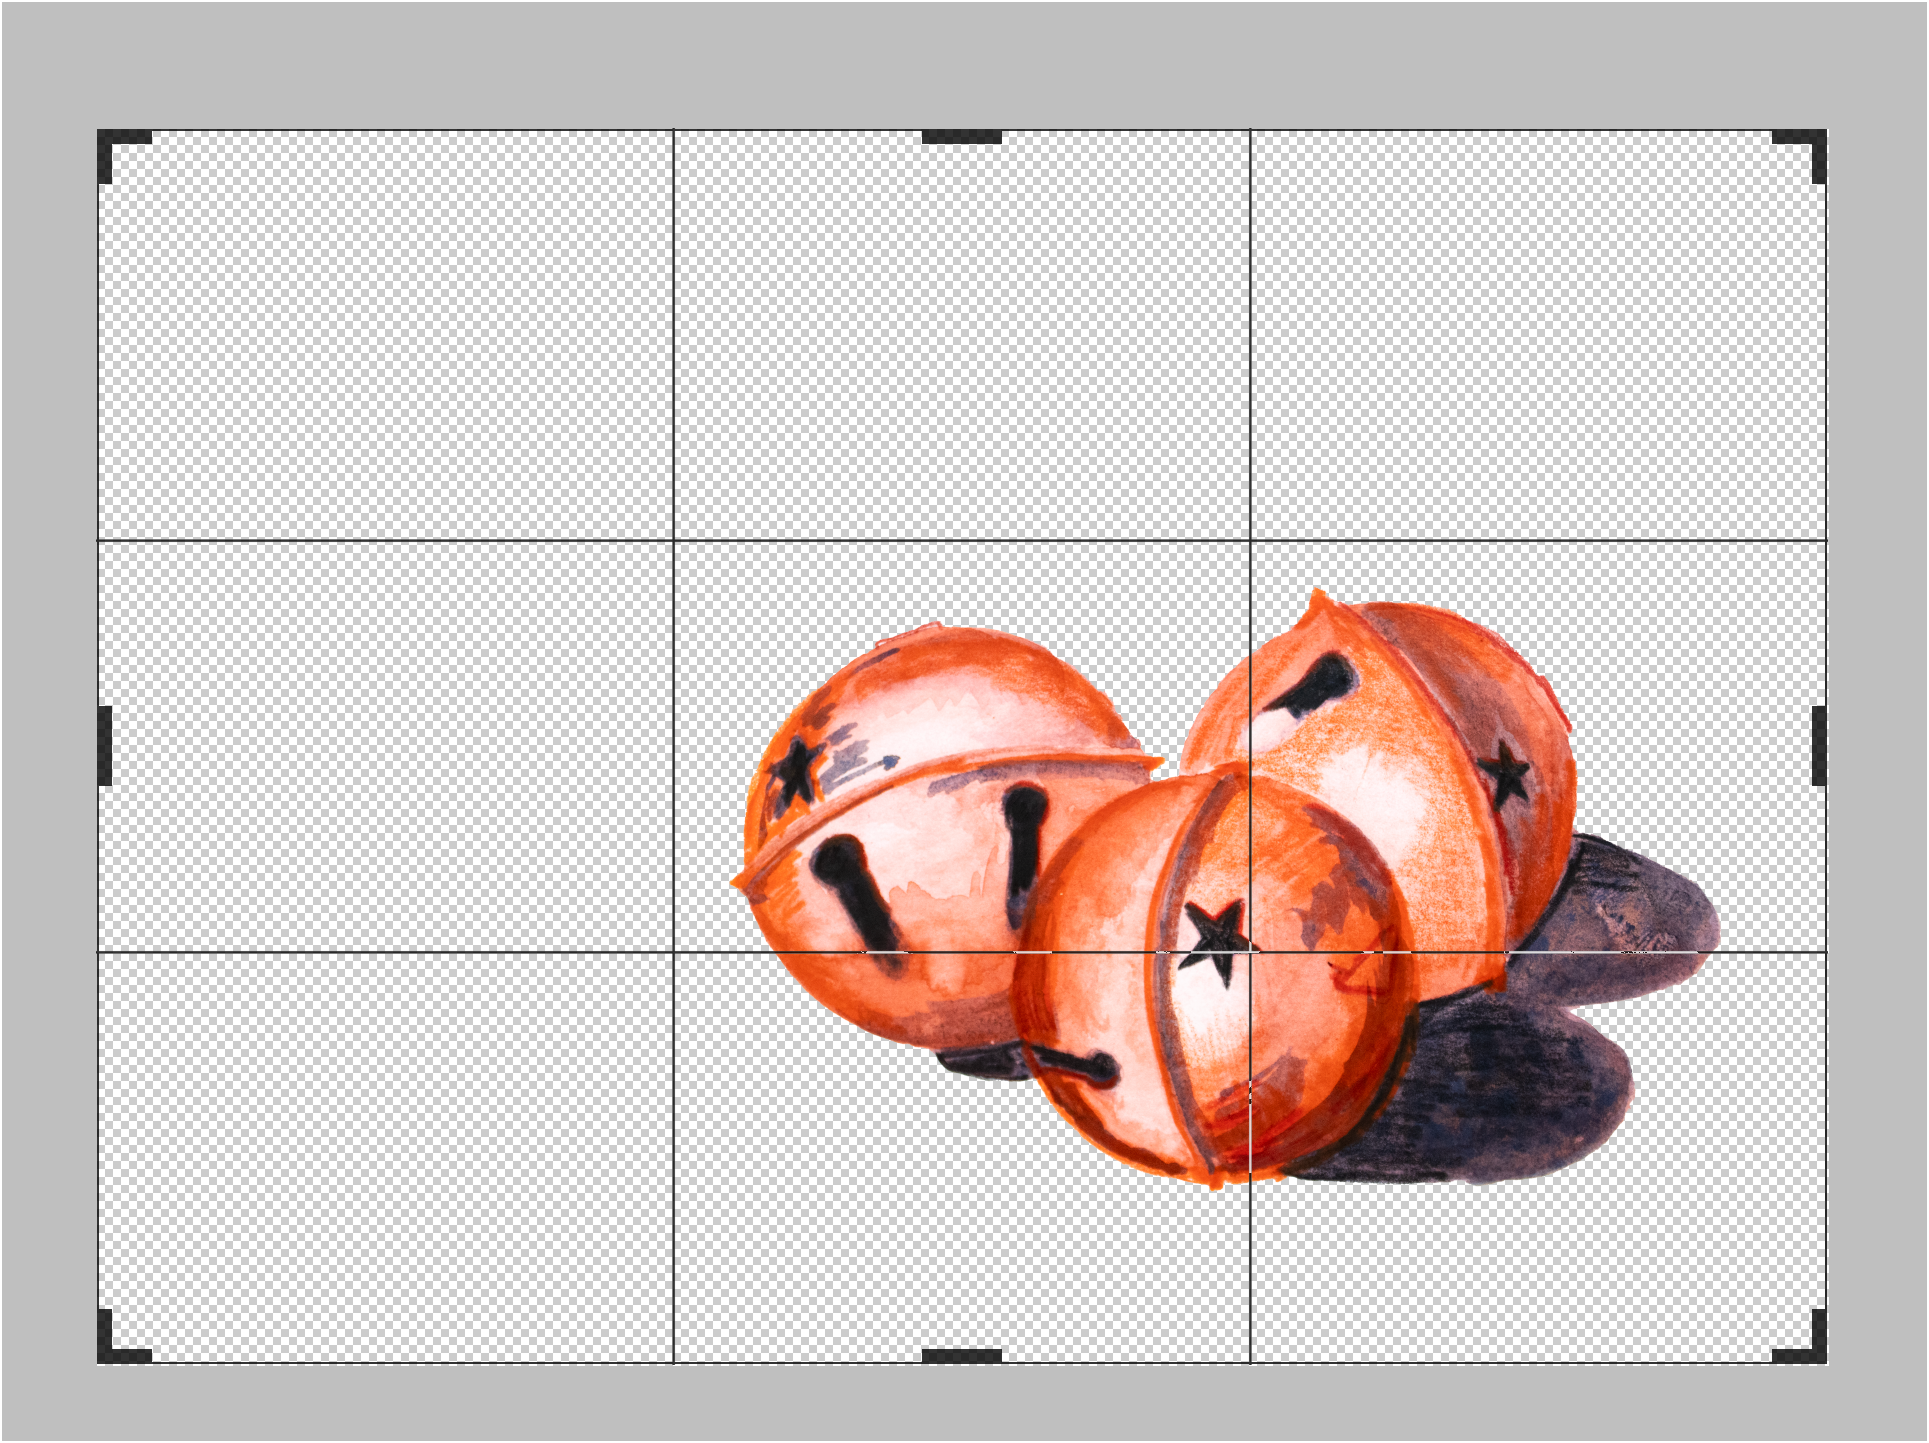
Cropping and Positioning the Artwork
My notecards use a 7:5 ratio, so I adjust the canvas using the Crop tool. I set the ratio to 7:5 and expand the canvas upward and to the left so the ornaments sit in the lower-right corner of the card. This gives the design breathing room and creates a more balanced composition.
Checking Print Resolution
Before exporting, I double-check the resolution.
By going to Image → Image Size, I confirm that the file is at 300 pixels per inch, which is the ideal resolution for printing clear, crisp notecards.
Saving the Final Files
Photoshop automatically creates a .psd file as I work. I save that version in case I want to make edits later. Then I export the final file as a .jpg using File → Save a Copy.
Once saved, I open the .jpg from its folder just to make sure everything looks right before moving on to layout and printing.